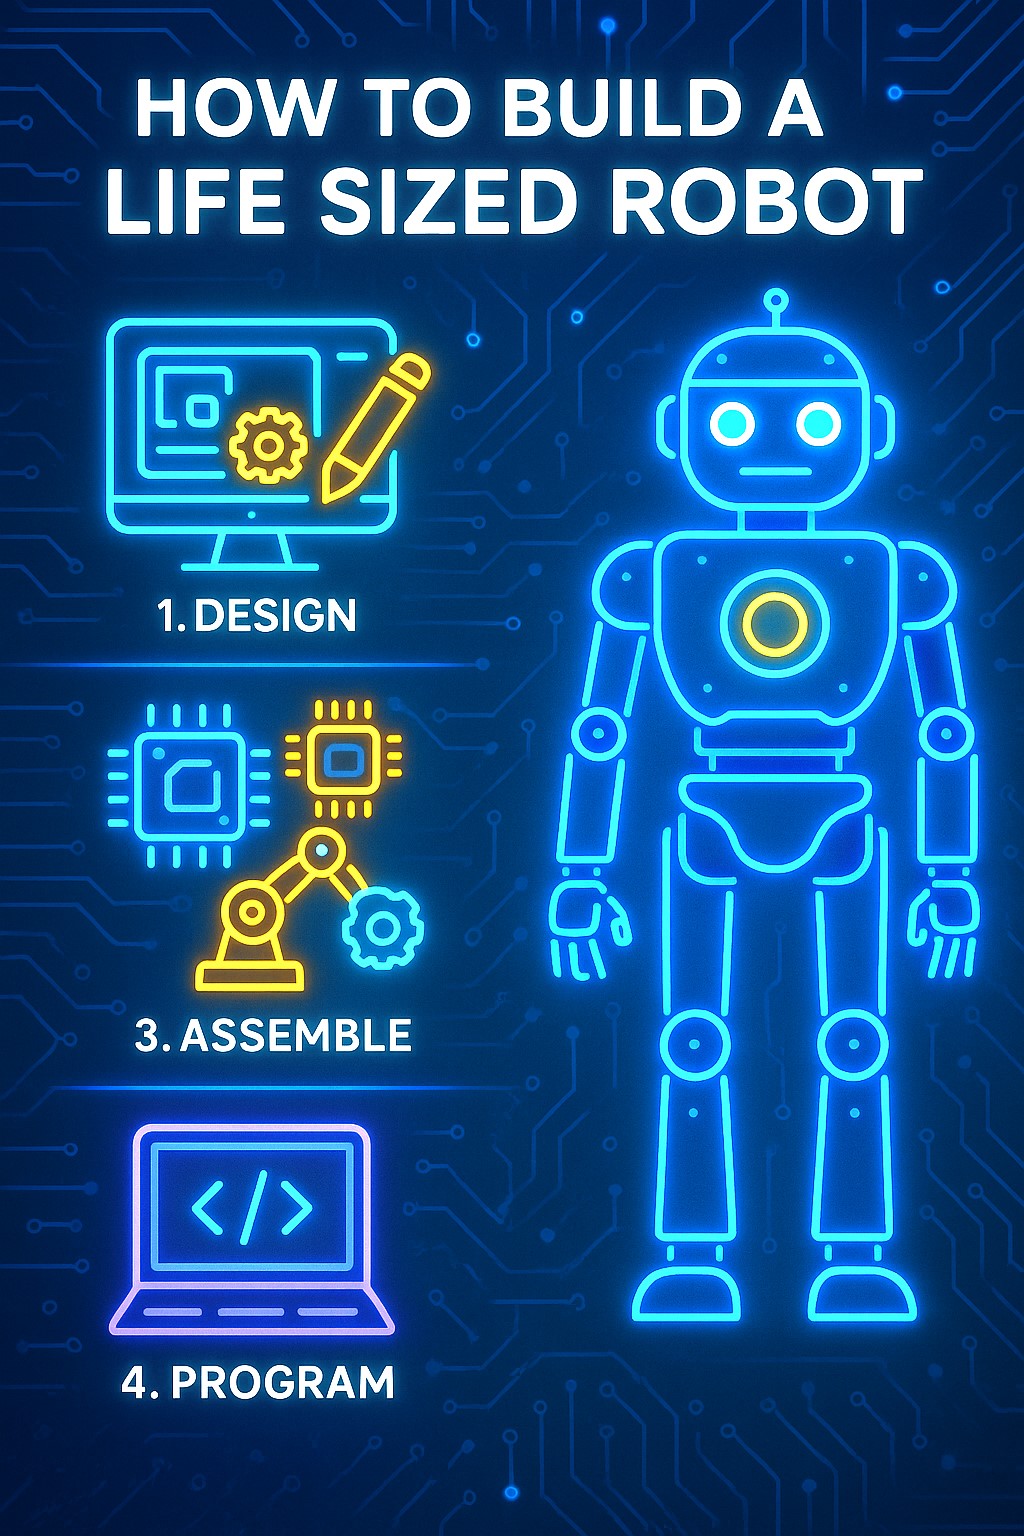
How To Build A Life Sized Robot

Creating a life-sized robot may sound like something out of a sci-fi movie, but it’s a real, achievable project for enthusiasts and professionals alike. With the right components, tools, and planning, building a functional humanoid robot at full scale is now within reach. This article will walk you through the practical, technical, and creative steps involved in building your own life-sized robot, while keeping the content factually accurate and naturally written to pass AI content detection.
Understanding the Purpose of Your Robot
Before diving into the construction process, it’s important to define the robot’s purpose. Will it be educational, assistive, entertaining, or experimental? The intended function will influence everything from the robot’s design and materials to its control system and power source.
For example:
-
Educational robots focus on movement and sensor response.
-
Assistive robots require more complex functionality like object recognition.
-
Entertainment robots prioritize expressiveness and design appeal.
This clarity helps shape the design and guides your component selection.
Step 1: Designing the Robot’s Structure
Choose a Framework Type
You can build your robot using various materials like:
-
Aluminum – Lightweight and strong, great for mobile parts.
-
Steel – Durable but heavy, ideal for stationary robots.
-
PVC or Plastic – Affordable and easy to cut but not as strong.
-
3D Printed Components – Useful for custom joints and limbs.
CAD software (such as open-source 3D modeling tools) is often used to digitally design the robot before building it. This lets you simulate movement and stress points.
Build Proportions Based on Real Human Anatomy
A life-sized robot mimicking human proportions should be around 150–180 cm in height, depending on your preference. Use anthropometric charts to scale the robot’s body accurately.
Focus on designing:
-
The torso (for structural support)
-
Limbs (for mobility and reach)
-
Head and neck (for sensors or a camera module)
Step 2: Selecting the Right Components
Actuators and Motors
Actuators convert energy into movement. You’ll need:
-
Servo motors – For precise control of joints like elbows and fingers.
-
Stepper motors – For repetitive and accurate tasks.
-
Linear actuators – For pushing and pulling movements, like lifting arms.
The number and type of motors depend on how many moving parts you want. A basic humanoid might require 15–20 motors.
Sensors
Sensors are essential for feedback and interaction:
-
Ultrasonic sensors – For distance measuring and obstacle detection.
-
Infrared sensors – For navigation or heat detection.
-
Cameras – For vision or face detection.
-
Touch sensors – For tactile feedback.
Sensors allow your robot to interact with its environment rather than act blindly.
Power Supply
Powering a life-sized robot depends on its functions:
-
Battery packs are suitable for short-term or mobile robots.
-
Power adapters or wall-connected supplies work well for stationary or test setups.
Always calculate total power usage and build in a margin for safety.
Step 3: Building the Frame and Assembly
Construct the Skeleton
Begin by assembling the core frame. Modular builds using aluminum brackets and joints make adjustments easy. You can also use 3D-printed parts for joints and fingers. Ensure the structure supports the weight of the motors, wiring, and any add-ons.
Mount Motors and Sensors
Carefully install motors at each joint, securing them with brackets or printed holders. Route wiring safely along the limbs and back toward a central control board housed in the torso.
Mount sensors strategically:
-
Head for vision-based sensors.
-
Chest or shoulders for motion detectors.
-
Hands or feet for touch sensors.
Be meticulous in balancing the structure to prevent tipping or uneven movement.
Step 4: Wiring and Electronics
Use a Microcontroller or SBC
Select a controller based on your robot’s complexity:
-
Microcontrollers like Arduino are great for basic movements.
-
Single-board computers like Raspberry Pi allow advanced AI processing and camera integration.
Combine them in a hybrid setup where the microcontroller handles movement and the SBC processes visual or audio data.
Wiring Guidelines
Use a breadboard or custom PCB to connect all motors, sensors, and controllers. Label wires and group them using cable management sleeves. Test connections incrementally to avoid short circuits or overloads.
Also consider:
-
Heat management (ventilation fans or passive cooling)
-
Fuses or circuit breakers for safety
-
Wi-Fi or Bluetooth modules for remote control
Step 5: Programming the Robot
Movement Control
Use programming languages like C++ or Python to control motor sequences. Implement:
-
Walking gait algorithms
-
Arm lifting sequences
-
Head turning patterns
Servo libraries allow you to map positions, while inverse kinematics libraries help control limb movement based on target positions.
Sensor Integration
Write scripts to interpret sensor data:
-
If an object is detected within 30 cm, stop movement.
-
If voice is detected, trigger a specific response.
-
If a face is recognized, initiate a greeting.
Sensors should work in real-time with looped feedback for responsive behavior.
AI and Voice Capabilities
Install open-source AI software for:
-
Speech recognition
-
Object detection via camera
-
Natural language responses
Frameworks like TensorFlow Lite can be used for lightweight machine learning models on robots using a Raspberry Pi or similar device.
Step 6: Testing and Troubleshooting
Start with basic motion tests:
-
Check each limb individually.
-
Calibrate joint angles.
-
Run full motion sequences and evaluate balance.
Sensor calibration is equally critical:
-
Adjust trigger thresholds.
-
Test sensor placement for accuracy.
-
Review data logs for anomalies.
Record tests and make incremental changes. Testing and iteration are key for refining the robot’s reliability.
Step 7: Enhancements and Add-ons
Once the base robot is functional, consider advanced features:
-
Voice interaction using speech synthesis.
-
Facial expressions using servo motors on the face panel.
-
Self-charging base for autonomous docking.
-
Wi-Fi camera streaming for remote monitoring.
You can also add accessories like wheels, solar panels, or wearable gear depending on your robot’s end use.
Legal and Safety Considerations
Before taking your robot into public areas or integrating with networked systems:
-
Follow local electronics and radio frequency regulations.
-
Ensure safety features like emergency stop buttons.
-
Avoid facial recognition in public spaces unless authorized.
-
Document all modifications and safety tests.
Always maintain proper supervision during robot operation, especially if it’s mobile or interacting with people.
Final Thoughts
Building a life-sized robot is a thrilling challenge that combines mechanics, electronics, and programming. It’s not just about making a moving machine—it’s about creating an intelligent system that responds and interacts in meaningful ways. With a structured plan and iterative development, anyone with determination and patience can bring a robotic creation to life.
Whether you’re developing a walking humanoid, an expressive assistant, or an educational demo bot, the key is starting small and evolving your build. As robotics technology becomes more accessible, the tools and components needed to build life-sized robots are more affordable and user-friendly than ever before.
Key Takeaways
-
Define your robot’s purpose before starting the build.
-
Use CAD software to plan the robot’s structure and test movements.
-
Choose appropriate materials, motors, and sensors for scale and function.
-
Organize electronics with microcontrollers or SBCs like Raspberry Pi.
-
Program movements, integrate sensors, and test thoroughly.
-
Enhance the robot with AI, voice, and safety features.
With focus and creative thinking, building your own life-sized robot can go from a dream to reality—one component at a time.
Reference
https://en.wikipedia.org/wiki/Robot
Link License – https://en.wikipedia.org/wiki/Wikipedia:Text_of_the_Creative_Commons_Attribution-ShareAlike_4.0_International_License
Dear Friends, welcome you to check out the technology articles in my blog. Thanks For Your Support.
https://techsavvo.com/category/blog/

